
How to Transform A Cruiser Motorcycle for a Long-Distance Tour or Road Trip (And Keep It Protected)
Planning a multi-state road trip or coastal highway run? Discover how to upgrade your cruiser's comfort and storage while prepping and protecting paint, chrome, and clear coat before hitting the open road.
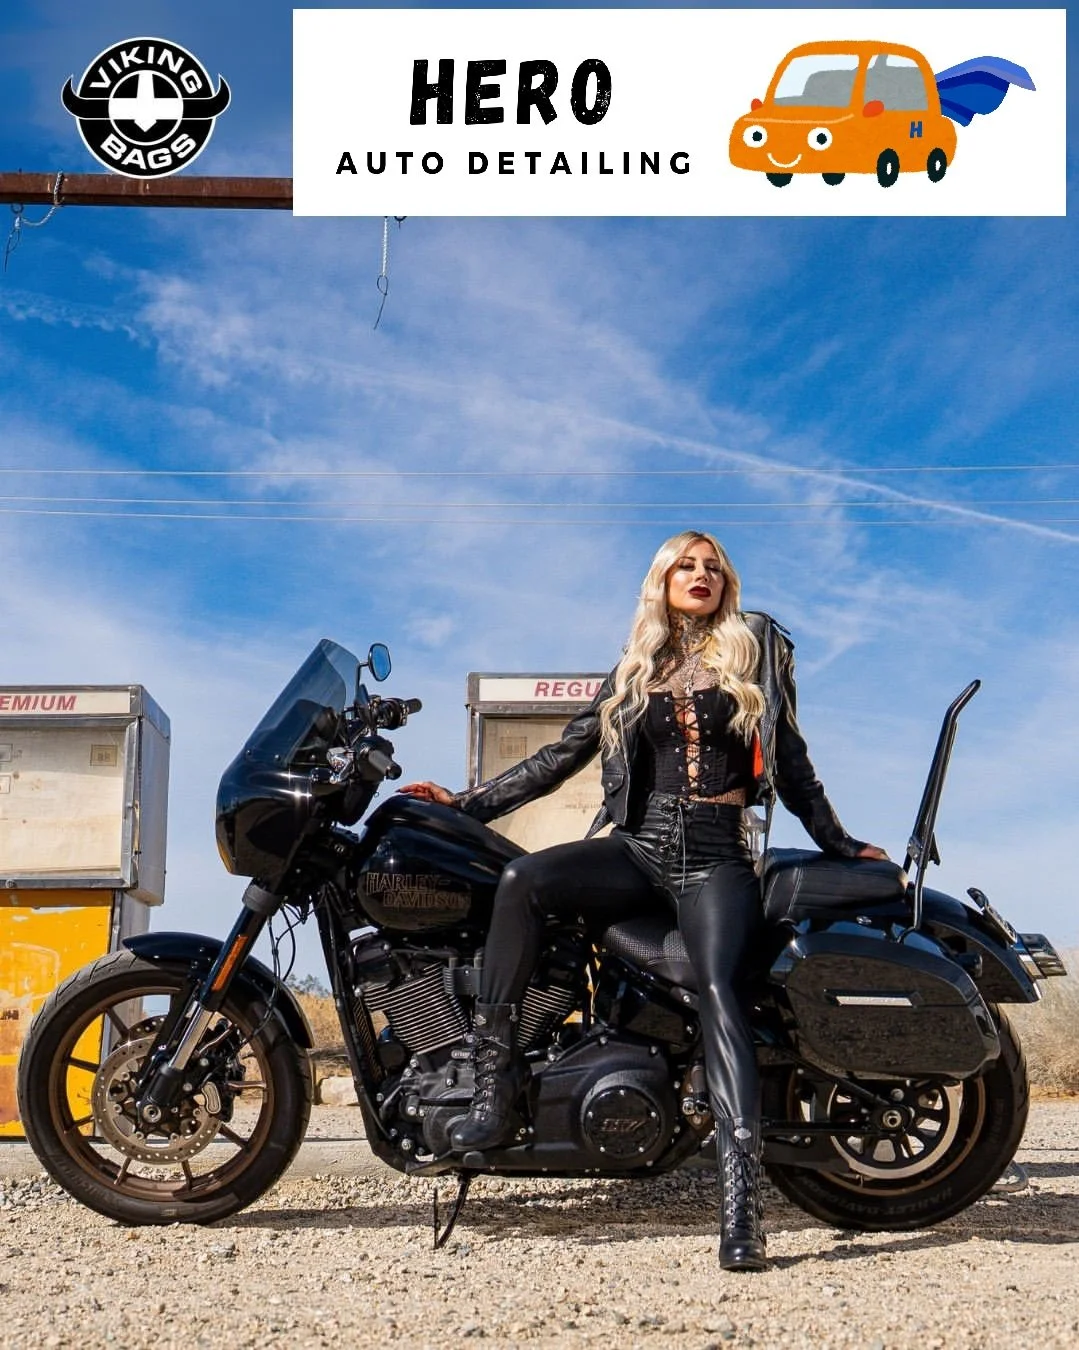
Featuring a Harley Davidson with Motorcycle Detailing Paint Protection Polishing and Viking Bags Storage in San Francisco
Table of Contents
If you've ever pulled off Highway 101 or the 280 freeway into a gas station in Millbrae or Burlingame after four hours on a stock cruiser, you already know the feeling. Your lower back is stiff, your wrists are aching, and your shoulders feel like you've been bench-pressing a gale-force wind. On top of that, your front fender is coated in smashed bugs, and oil-heavy highway film is already baking onto your hot chrome pipes and exhaust heads. Maybe even some bug legs in your teeth or beard too!
Cruisers are packed with soul, heavy low-end torque, and undeniable road presence. But straight out of the showroom, most factory setups are tailored for quick Sunday morning coffee runs to Ocean Beach, Alice’s Restaurant, or Nation’s Giant Hamburgers, not multi-day tours across California or interstate highway trips.
The good news? You don't need to trade in your bike for a massive touring rig. By combining smart ergonomic upgrades, such as proper storage motorcycle saddlebags and proper detailing prep and paint protection, you can turn your cruiser into an effortless long-distance machine that stays spotless from the Pacific Coast Highway all the way home.
Part of our comprehensive guide: How to Transform A Cruiser Motorcycle for Long-Distance Touring
Add Wind Protection & Maintain Optical Clarity
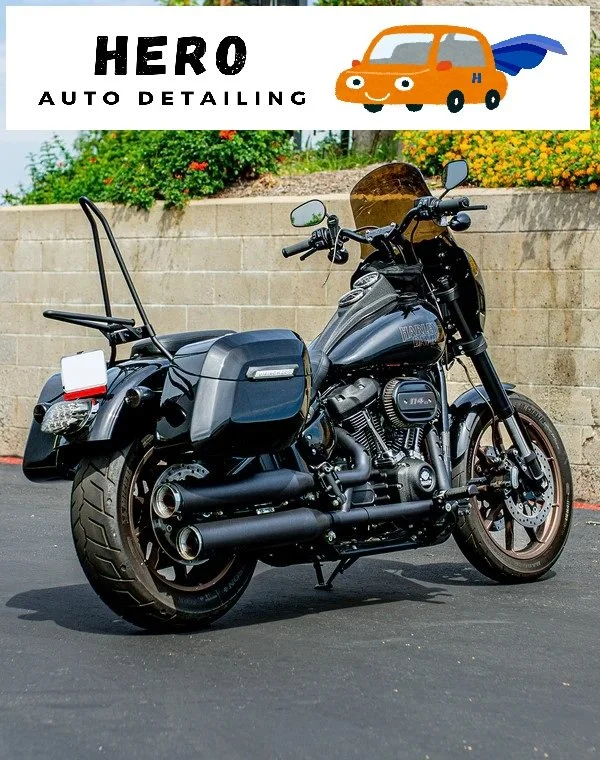
Adding wind protection with a windshield or fairing on a motorcycle like a Harley Davidson minimizes the wind blowing into your face.
Pushing through continuous wind at 70 mph forces your core and back muscles to stay clenched just to keep you upright. Adding a quick-detach windshield or front quarter-fairing diverts that wall of air right over your helmet.
Set Proper Sightline Height: Ensure the top lip of the windshield aligns right around nose level. You want to look over the screen during normal riding, not look through dirty or fogged plastic.
Avoid Ammonia-Based Cleaners: Never spray household glass cleaners on polycarbonate or acrylic windshields. Ammonia reacts with the plastic polymers, causing micro-cracking (crazing) and permanent yellowing over time.
Safe Cleaning Technique: Soak a plush, borderless microfiber towel in warm water or a dedicated plastic-safe quick detailer, lay it flat across the bug-splattered shield for two minutes to soften the residue, and gently wipe away without pressing down.
Part of our comprehensive guide: How to Transform A Cruiser Motorcycle for Long-Distance Touring
Upgrade Your Seat (And Care for the Material)
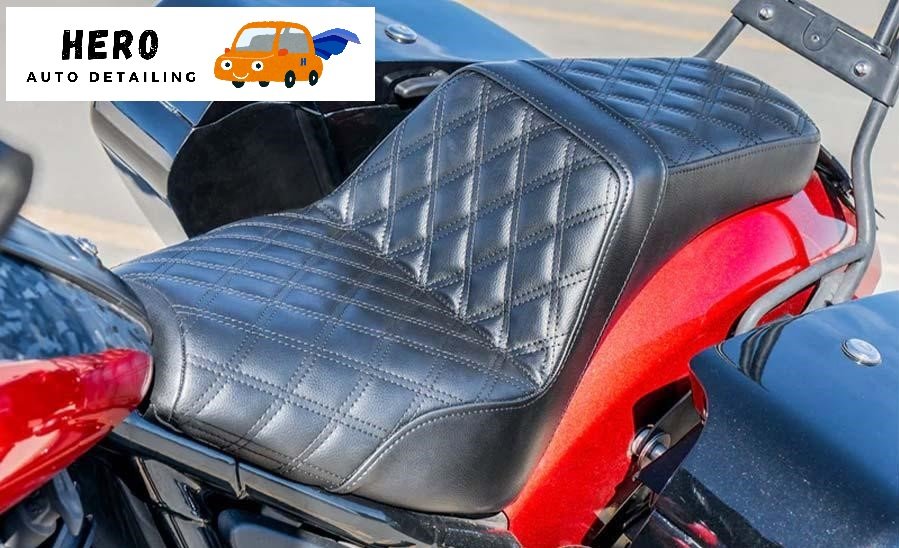
Upgrade your cruiser's stock seat for multi-day comfort and learn how to condition leather and synthetic vinyl without creating a dangerously slick riding surface.
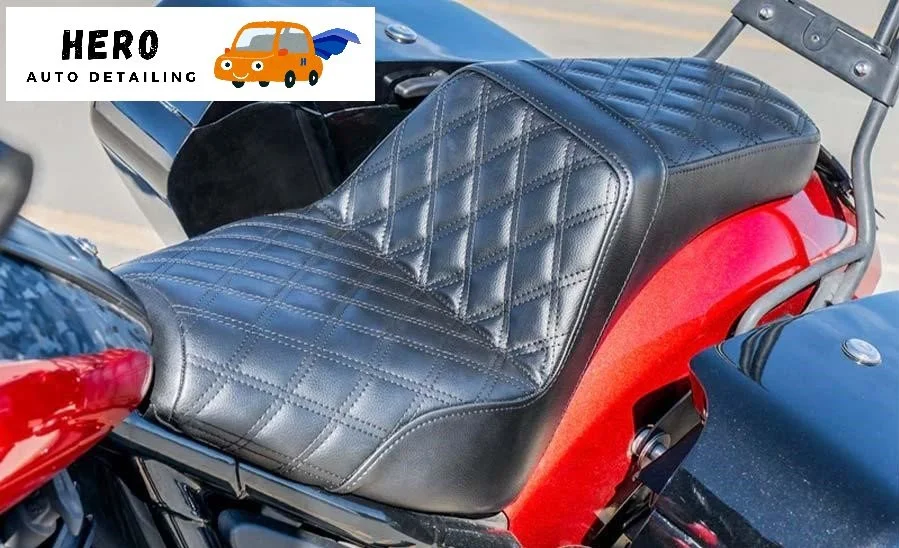
Factory seats are designed to look sharp on showroom floors. They usually feature thin, dense foam that creates severe pressure points around your tailbone and thighs after 90 minutes in the saddle.
Swapping to an aftermarket touring seat with gel inserts or multi-density progressive foam spreads your weight across a broader support base, keeping blood flowing to your legs during 400-mile days. For Harley-Davidson riders, the Street Bob gel-padded seatfrom Viking Bags is worth a close look. Viking builds its seats with high-density foam and weather-resistant covers that withstand rain, heat, and cold.
Look for a wider rear bucket: This supports your hip structure and keeps you seated in a natural, neutral posture.
Choose weather-resistant covers: Premium synthetic leather or treated hides handle sudden coastal fog rolling off the hills in Portola Valley.
Detailing Care Tip: Condition vinyl or leather seating using non-silicone, UV-blocking leather treatments. Never apply slippery interior dressings or gloss sprays to a motorcycle seat—they create a slick surface that makes shifting your weight in tight corners dangerous. Protect the seat with products such as System X LVP (Leather, Vinyl, and Plastic Protection)
Part of our comprehensive guide: How to Transform A Cruiser Motorcycle for Long-Distance Touring